There are inseparable traditions. At Christmas, the tree stands proudly in the living room, and the Yule log takes center stage at the table.
At Easter, rabbits and chocolate eggs make their appearance. And on Halloween, carved and illuminated pumpkins-sometimes scary, sometimes playful-steal the show.
But once the celebration is over, what should you do with your pumpkin?

Too often, pumpkins end up in the trash, even though they could easily be turned into delicious meals. Did you know that, just like their squash cousins, pumpkins can shine in the kitchen?
Prepare Your Pumpkin for Halloween

Choose the Right Halloween Pumpkin
Choose a firm pumpkin, free of blemishes or cracks.
Smaller pumpkins are ideal for cooking, while larger ones are better suited for carving.
2. Prepare Your Space and Tools
Gather the right tools: a knife with a fine blade, a melon baller or spoon, and a marker or pencil.
Set up on an easy-to-clean surface, such as newspaper or a plastic tablecloth.
3. How to Decorate or Carve Your Halloween Pumpkin

Here are several ways to decorate your pumpkin:
1. Carve and Sculpt
- Cut a lid around the stem, angling the knife inward to ensure it stays in place.
- Scoop out the seeds and fibers inside, keeping the seeds for roasting.
- Draw your design with a marker or use a stencil as a guide.
- Carefully cut along the lines with a fine-blade knife to create your pattern.
- Place a LED light or candle inside to illuminate your design.
2. Paint or Draw on the Pumpkin
- Clean the surface thoroughly with a damp cloth to remove any dirt.
- Use markers, acrylic paint, or permanent pens to create faces, patterns, or fun shapes.
- For a playful touch, add glitter or stickers to enhance your design.
This option is perfect if you want to avoid carving and extend the pumpkin's lifespan.
3. Illuminated Pumpkin Without Carving
- Cut the lid: Using a knife, cut a circle around the stem, angling the blade inward to ensure the lid stays securely in place.
- Scoop out the inside: With a melon baller or spoon, remove the seeds and fibers. Keep the seeds for roasting later.
Gently scrape the inside walls to remove excess flesh and slow down the decomposition process. - Create Patterns with a Drill: Use a drill with bits of different sizes to make evenly spaced holes or geometric designs.
Be creative: try spirals, stars, or waves! Make sure not to drill too close to the edges to prevent the pumpkin from cracking. - Add Lighting: Place a battery-powered string light or a small LED lamp inside for a magical effect. LED lights are particularly safe and long-lasting.
- Let It Shine: Once lit, your pumpkin will beautifully illuminate your entryway with an elegant and original touch, without the hassle of complex carving.
Safety Tips
If you use candles, make sure never to leave the pumpkin unattended.
Opt for LED lights as a safer option, especially if the pumpkin is indoors or handled by children.
To Maximize Your Pumpkin's Lifespan
- Apply petroleum jelly or lemon juice to the cut edges to slow down drying.
Zero-Waste Tip: Don't Throw Anything Away!
- Seeds: Clean them and roast them for a crunchy snack (see below).
- Flesh: Use it in a variety of sweet and savory recipes.
How to Roast Pumpkin Seeds in a Few Simple Steps

- Rinse the seeds and remove any remaining pulp or fibers. Pat them dry thoroughly.
- Mix the seeds with a bit of oil, salt, and spices of your choice (cumin, Mexican chili, curry, etc.).
- Preheat the oven to 350°F (180°C). Spread the pumpkin seeds in a single layer on a baking sheet lined with parchment paper.
- Bake for 20 to 30 minutes until the pumpkin seeds are golden brown. Flip them halfway through to ensure even roasting.
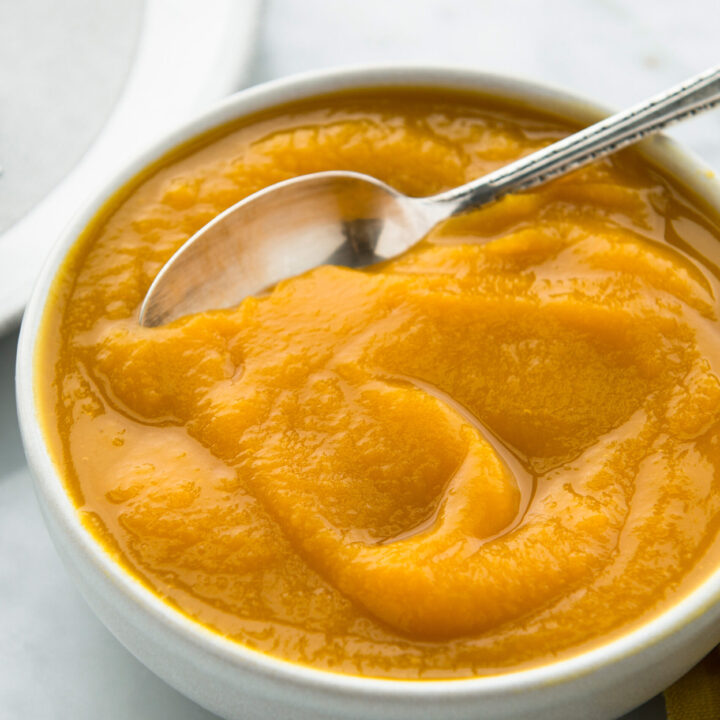
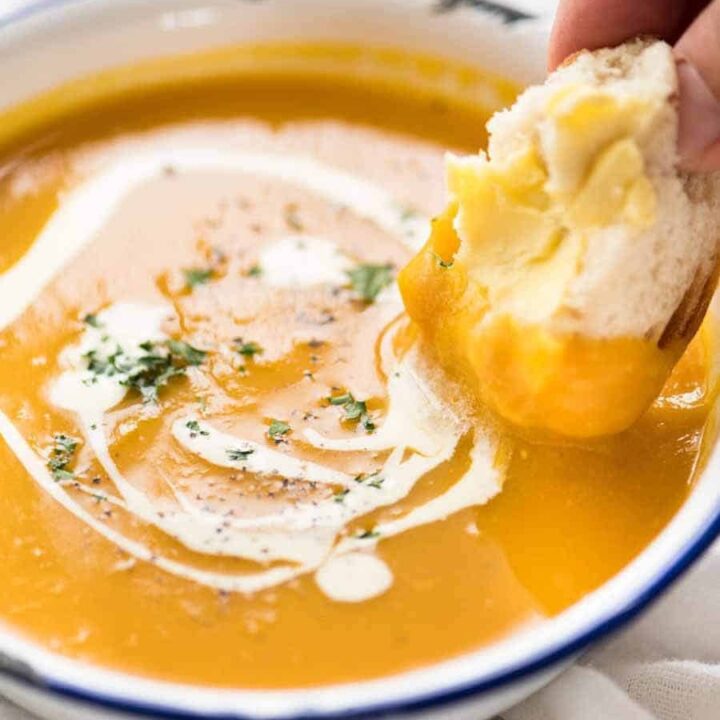
Recipes with Pumpkin
Pumpkin is not just a decorative object-its flesh works wonderfully in recipes. It's also a delicious and healthy vegetable!


Marie-Noël Ouimet is a writer and content creator specializing in gastronomy, wine, and travel. She is the founder of the digital magazine Urbaine City, where for over 10 years she has been highlighting the pleasures of the table and the destinations that bring them to life. She also holds the WSET Level 3 certification in wines and spirits.